

Roles and responsibilities
Scheduling a session
1
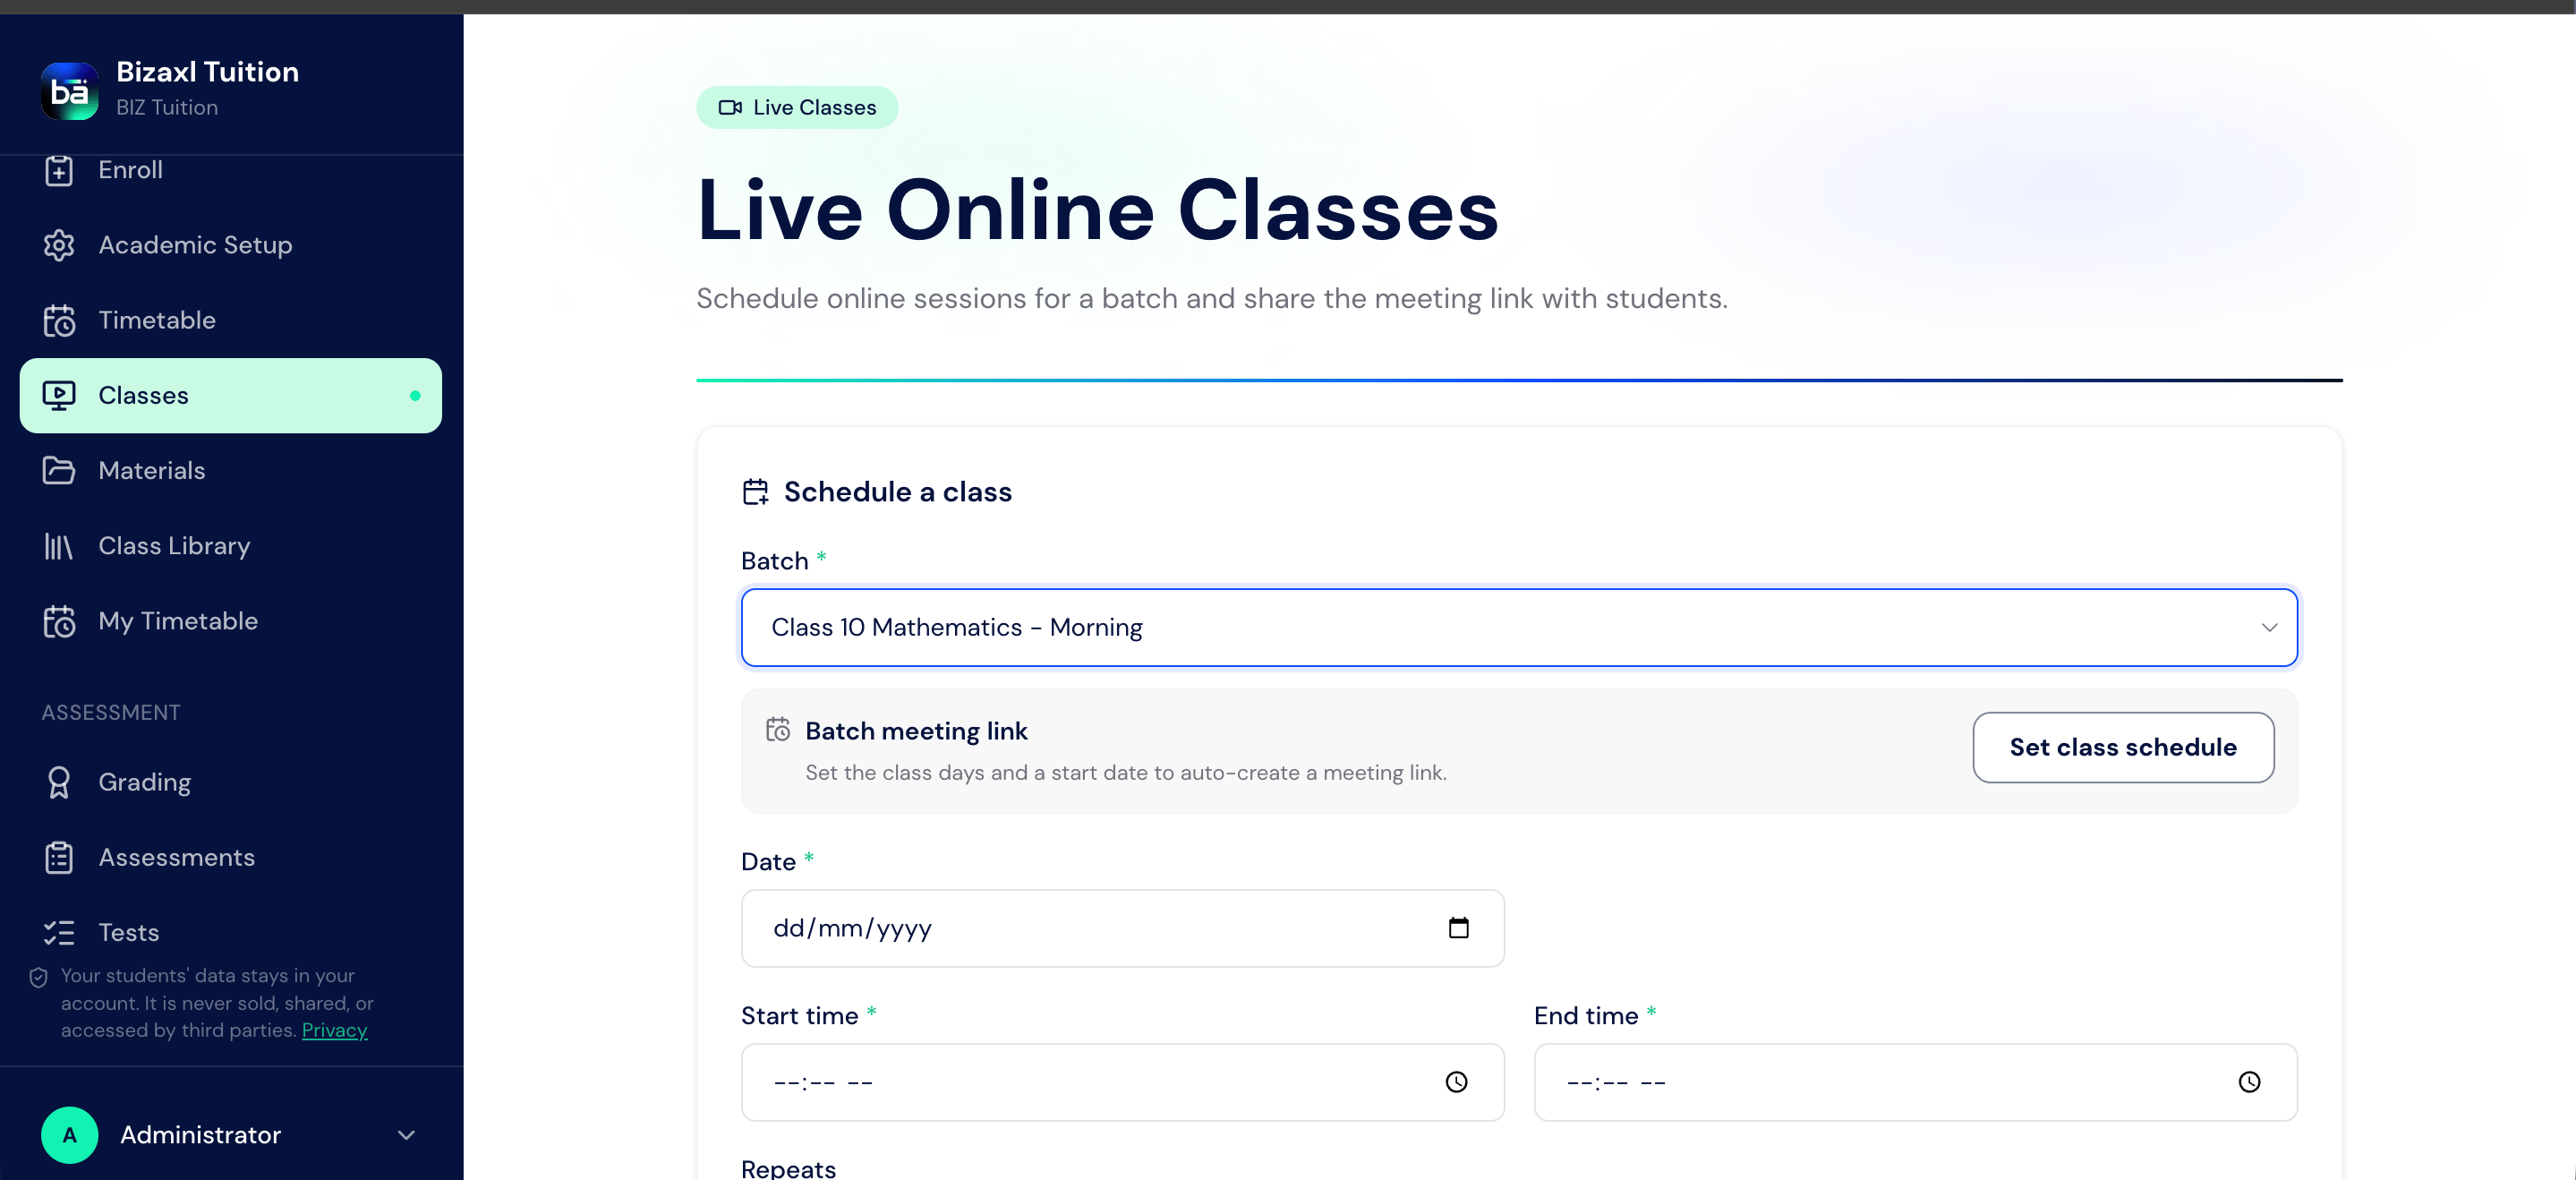
Open Classes
From the staff sidebar, choose Classes.
2
Create a session
Pick the batch, date, and time, and create the online session.
3
A meeting is provisioned automatically
For online sessions, a video meeting is created for you in the background, with a waiting room and cloud recording enabled.
4
Cancel if plans change
You can cancel a session; students and guardians see the update.
Join reminders
About 30 minutes before a live class, students and their guardians receive a join reminder, sent once per session so no one is nagged repeatedly. This runs automatically; you do not send reminders by hand.Joining a class
Students and guardians open My Classes to see upcoming sessions and join with one click when the time comes. Each session shows its schedule and a join action.Class recaps
After a class, a recap is published so students who missed it can catch up. For supported sessions the recap includes the meeting’s smart notes and transcript alongside the recording.
Recaps left pending for more than six hours after the class are automatically marked unavailable, so students are not left waiting on a recap that will never arrive.
Upstream and downstream dependencies
- Upstream: a live class needs a batch with enrolled students.
- Downstream: attendance and (for online sessions) instructor commission follow from delivered classes; recaps feed the student’s My Classes history.
Best practices
- Schedule ahead. Creating sessions early gives the reminder time to reach families before class.
- Let recaps generate on their own. Notes and recordings are captured for you; there is nothing to upload manually.
- Cancel rather than delete. Cancelling keeps students informed; silently removing a session leaves them guessing.