

Roles and responsibilities
The grading building blocks
Creating an assessment plan
1
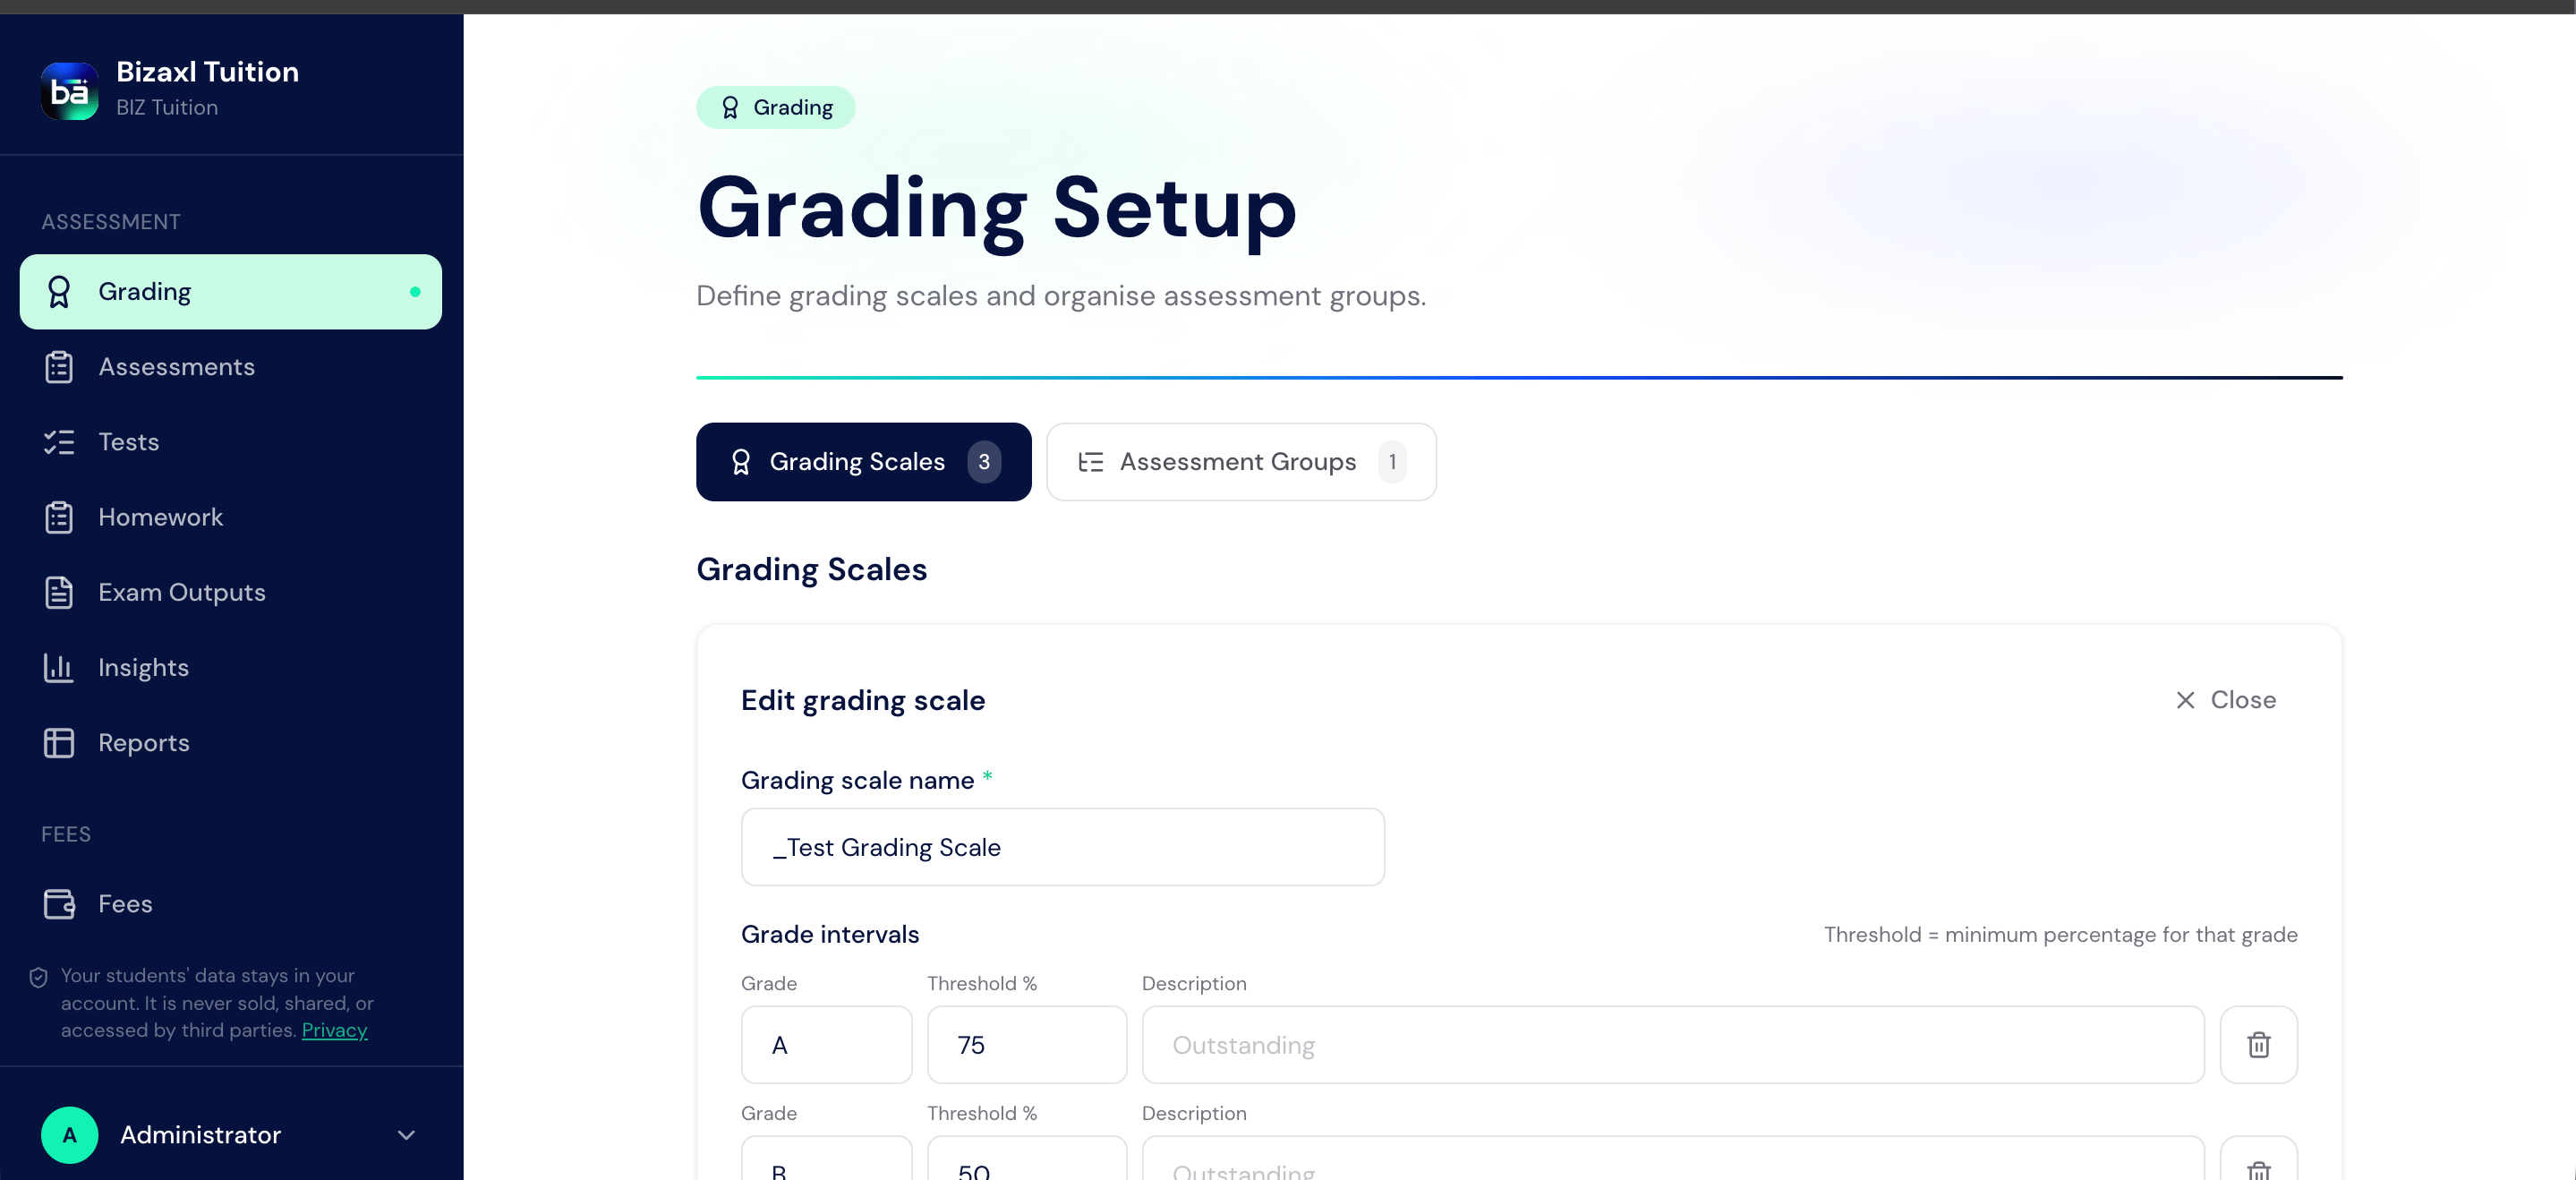
Set up a grading scale
From Grading, create the scale that maps marks to grades. Reuse it across assessments.
2
Create an assessment plan
From Assessments, create a plan: choose the batch, course, assessment group, date, and maximum score.
3
Open the marks grid
The plan opens a grid listing every student in the batch, ready for marks.
Entering marks and publishing
1
Enter each student's score
Type each student’s mark into the grid. Grades are derived from your grading scale.
2
Save the marks
Saving records the marks against each student.
3
Publish the result
Publishing finalises the result. At this point guardians are notified.
Automatic guardian grade cards
When a teacher publishes a result, the student’s guardians receive a styled, per-criterion grade card by email. Results that came from an online quiz are deliberately excluded from this notification, so parents are not flooded every time a child takes a short quiz. See Online Quizzes for how quiz scores are handled.Assessment result field guide
Upstream and downstream dependencies
- Upstream: an assessment plan needs a batch, a course, and a grading scale.
- Downstream: published results feed progress cards and hall tickets, the student’s My Grades view, and the guardian grade card notification.
Best practices
- Define grading scales once, reuse them. Consistent scales keep grades comparable across batches and terms.
- Enter a full batch before publishing. Publishing partway means some guardians get a grade card while others wait.
- Double-check the maximum score. Grades derive from the mark against the plan’s maximum; a wrong maximum skews every grade.