

Roles and responsibilities
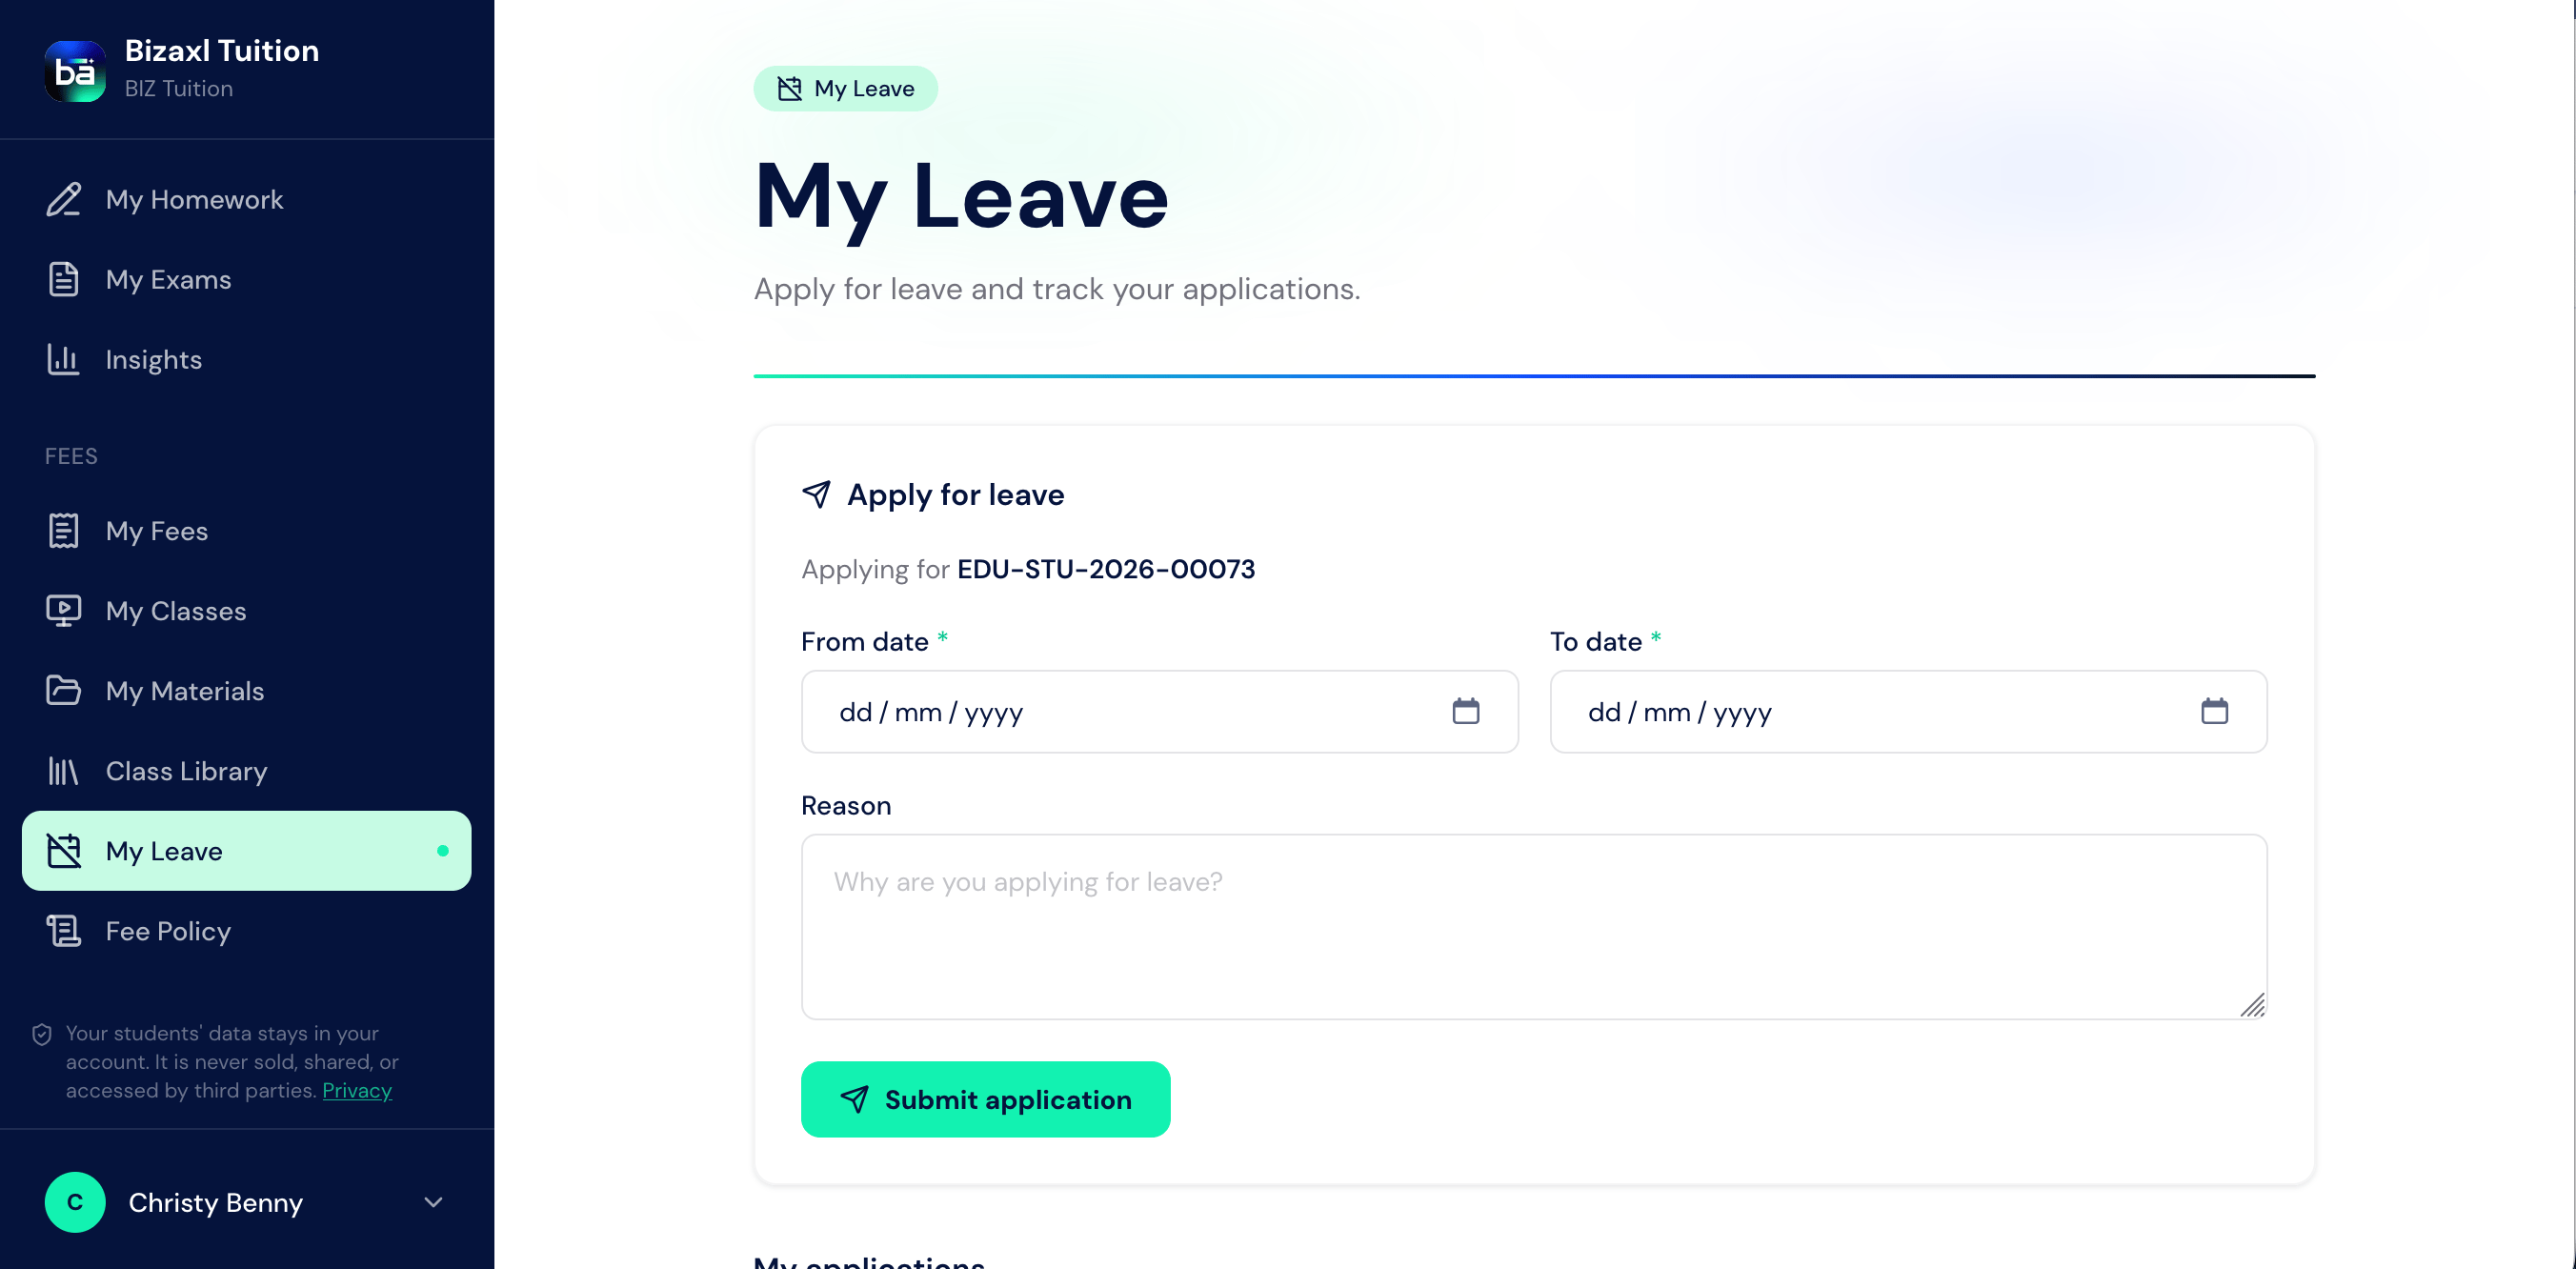
Applying for leave
1
Open My Leave
A student or guardian opens My Leave from their sidebar.
2
Choose the batch and dates
Select the relevant batch and the dates the student will be away, with a reason.
3
Submit the application
The request goes to staff for review.
Reviewing requests
Staff open Leave Requests to see applications waiting for a decision, then approve or reject each one.1
Open Leave Requests
From the staff sidebar, choose Leave Requests.
2
Review pending applications
See who has applied, for which batch, and for which dates.
3
Approve or reject
Record the decision. The applicant can see the outcome.
Leave field guide
Upstream and downstream dependencies
- Upstream: leave needs a student in a batch.
- Downstream: an approved leave gives context to attendance, so a planned absence is understood rather than treated as an unexplained one.
Best practices
- Apply in advance. Leave is most useful when requested before the absence, not after.
- Give a clear reason. A short reason helps staff make a quick, fair decision.
- Decide promptly. A pending request leaves the family unsure; approve or reject without delay.